How to Create Your First Chatbot Use DMflow.chat
Creation at: 2023-12-25 | Last modified at: 2024-07-22 | 2 min read
How to Create Your First Chatbot
1. Establish Document Domains
Enter the domain name and description, then click “Add.” Please note that domain names are case-sensitive and cannot be changed after creation. The language currently supports both Chinese and English; choose as needed. The language only affects the caching service and does not impact basic services.

Click on the file; in this example, we upload a sitemap.xml using Communeify’s sitemap.xml. You can use your own URL or sitemap.xml.
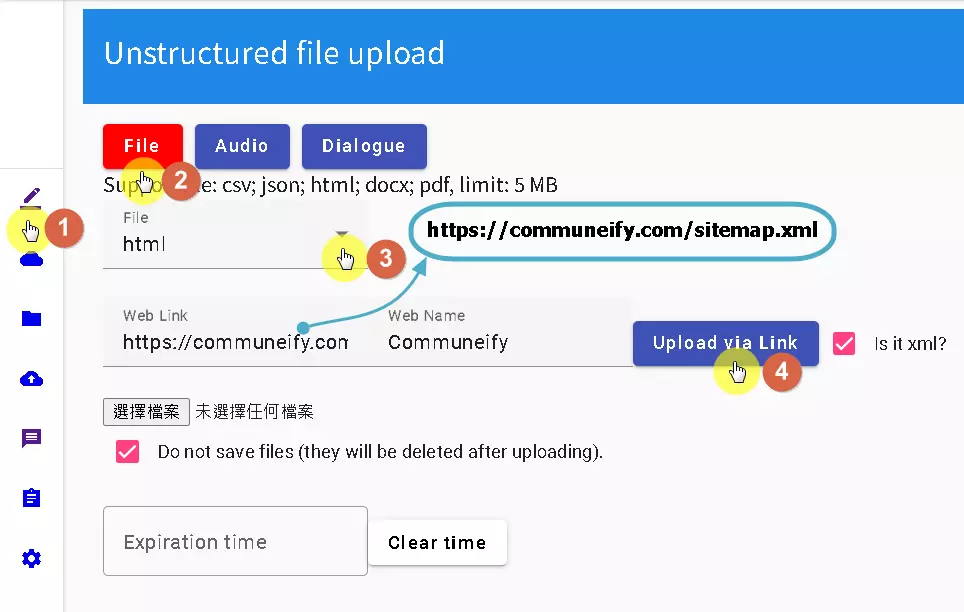
After uploading, wait for all documents to be processed and indexed before testing. You don’t need to worry about whether sitemap.xml processing is complete; if your website is updated, click “Reindex,” and the system will automatically organize your web pages.
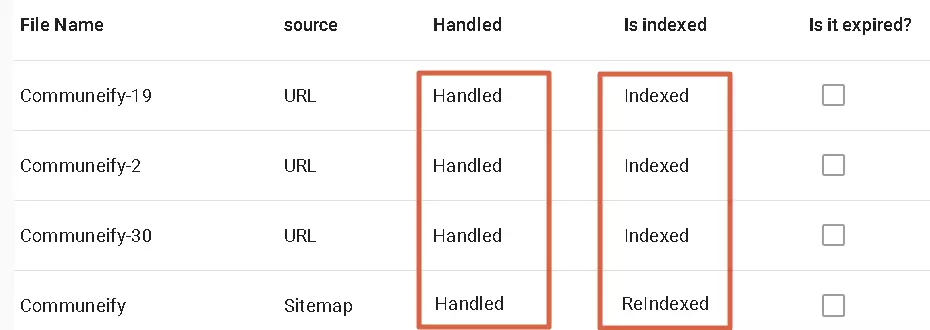
Once uploaded, you can proceed to testing.

If you have fixed answers for certain questions, you can preserve them through Logs -> History, and those answers will be stored in the cache. Hitting those cached answers won’t deduct points.
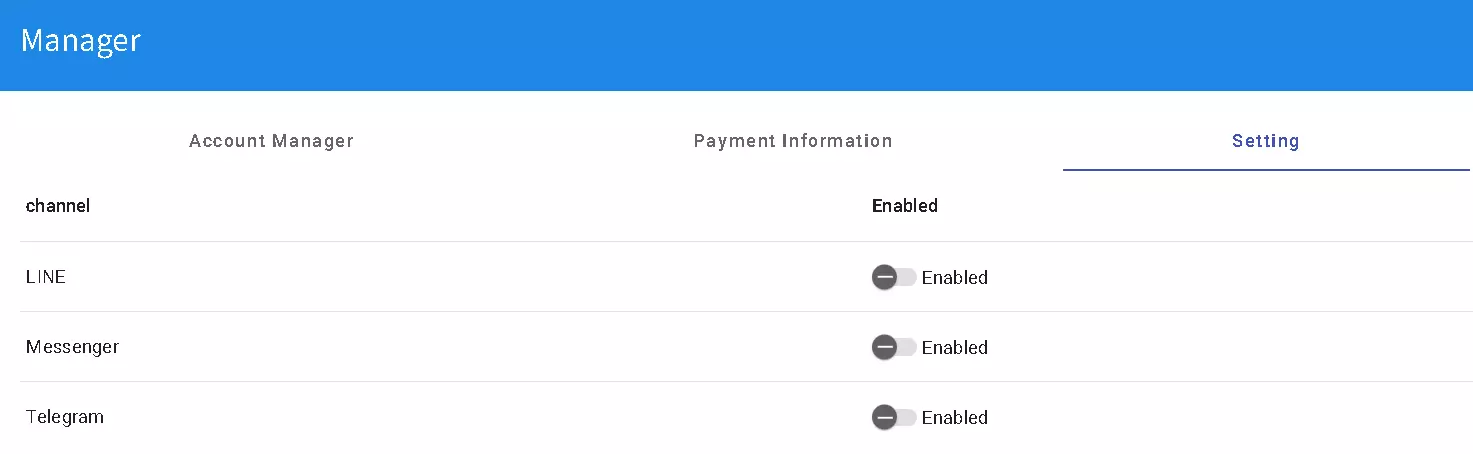
To publish to the web or channels like LINE, Messenger, Telegram, etc., you need to publish it as a production version. After creating a bot in the next step, link it to this domain for the bot to use.

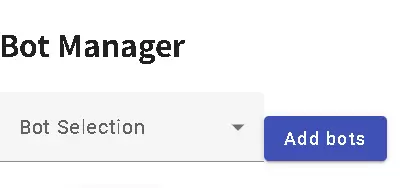
Domain Management -> Bot Management -> Add Bot
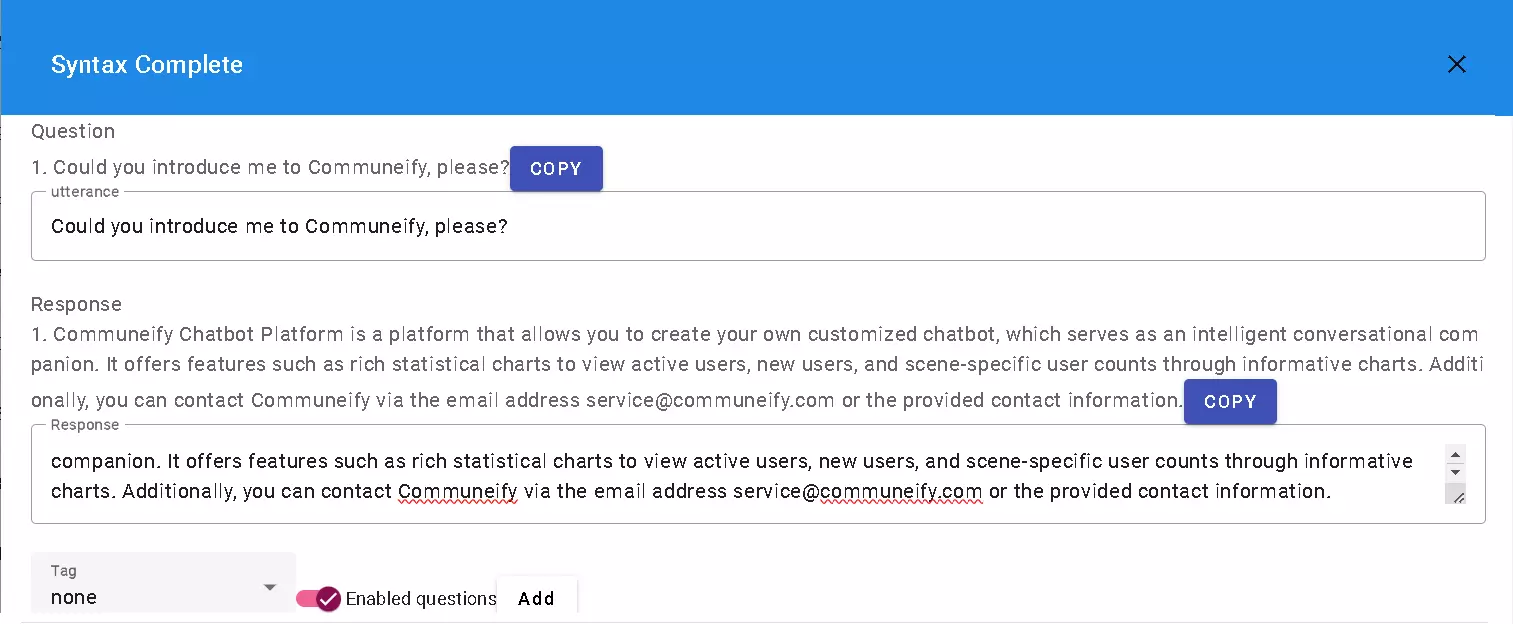
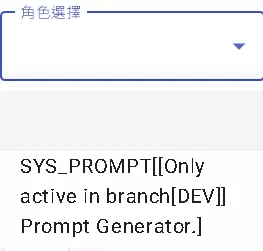
Additional:If you want to modify the prompts for the bot, you can do so from Settings -> Modify Prompts. If you’re unsure about prompts, you can use the “Chit-Chat” domain for testing. Choose the SYS_PROMPT role for a conversation to generate context.
2. Create a Chatbot
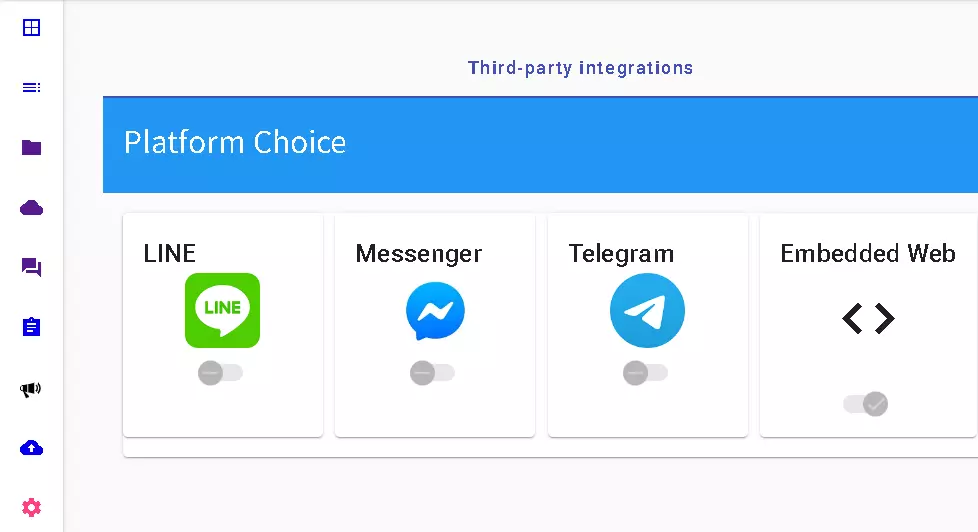
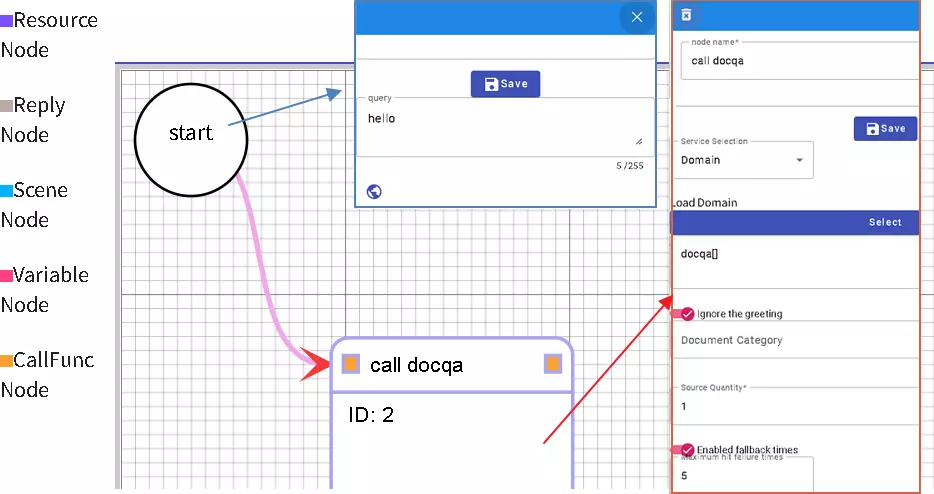
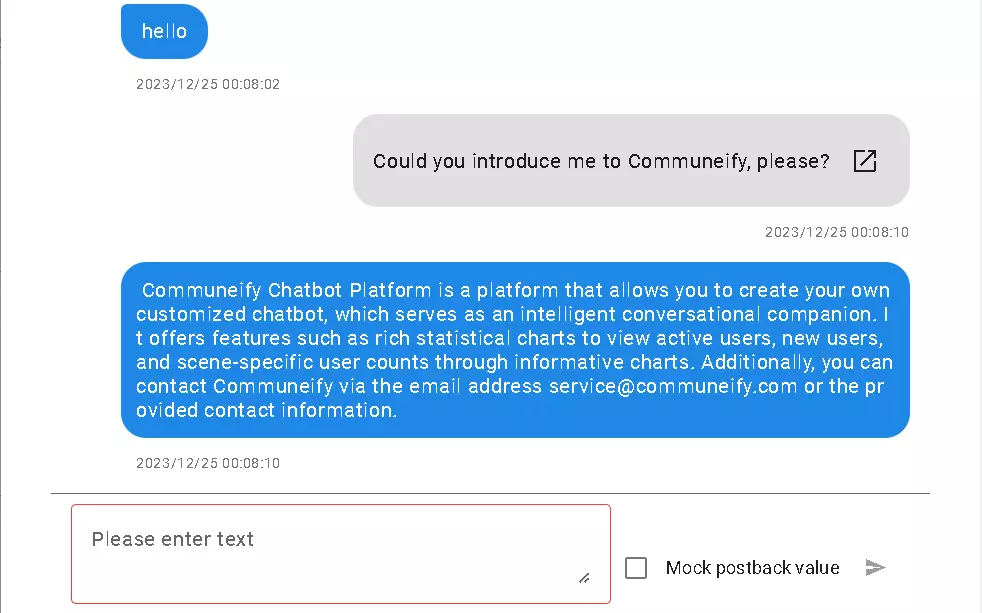
After creating the chatbot, select “Conversation Flow,” configure as shown in the image below, save, and then test (if testing fails with the first version, make any changes to a node and update). The test result is shown in the second image below. Once testing is complete, click “Publish” and choose the channels you want to export to.
Go to “Management” -> “Settings” to activate the channels you need. After activating the channels, return to the chatbot section. You’ll see channel selection as shown in the second image below. Follow the steps to publish to the desired channel. Currently, web embedding only supports the production version, and you must first go to [Publish] -> [Link to Production Version] before each deployment, testing in the development version, and then syncing to the production version.